Finishing an unfinished basement might seem like a major investment — and in many cases, it can be. But for homeowners looking to increase livable space, improve home value, or simply gain more usable square footage, the good news is: you don’t need to spend tens of thousands to transform a bare basement into a warm, functional part of your home.
The key is strategy. With a bit of planning and the right DIY tools and materials, you can take a cold, concrete space and convert it into a comfortable office, guest suite, gym, or playroom — all while staying within budget.
This guide covers six smart DIY steps for finishing a basement, plus top-rated Amazon products that make the process easier and more affordable.
Why Finishing a Basement Is Worth It
Basements are one of the most underutilized spaces in a home. Finishing this space not only increases your total usable square footage, but can significantly boost your home’s resale value. In many markets, finished basements can return 70–75% of the renovation cost in home equity — especially if done well and safely.
Here’s why finishing a basement is so valuable:
-
Increases functional living space — from family rooms to guest quarters.
-
Adds resale value in competitive markets.
-
Improves energy efficiency by sealing drafts and controlling moisture.
-
Enhances daily life with more room for hobbies, work, or storage.
And the best part? You don’t need to finish it all at once. By focusing on key categories — moisture control, insulation, lighting, flooring, and comfort — you can transform the space step-by-step without overspending.
Step 1: Address Moisture and Humidity
Basements are naturally prone to dampness, and finishing without proper prep can lead to mold, warped materials, and wasted money.
Start by inspecting for leaks or condensation. A dehumidifier is an affordable first step to stabilize humidity and ensure airflow.
Recommended: YTE Pro 1500Sq.Ft Dehumidifier

-
Controls moisture in basements up to 1500 sq. ft.
-
Quiet operation with automatic shutoff and humidity sensor.
-
Sleek design fits discreetly in corners.
Also seal any cracks or gaps with silicone-based caulk to prevent seepage.
Step 2: Seal and Insulate the Walls
Proper insulation regulates temperature, boosts comfort, and lowers energy bills. Instead of costly spray foam, try rigid foam boards, caulk sealers, and outlet inserts for a DIY-friendly solution.
Recommended: Frost King Outlet and Switch Sealers (Multi-Pack)
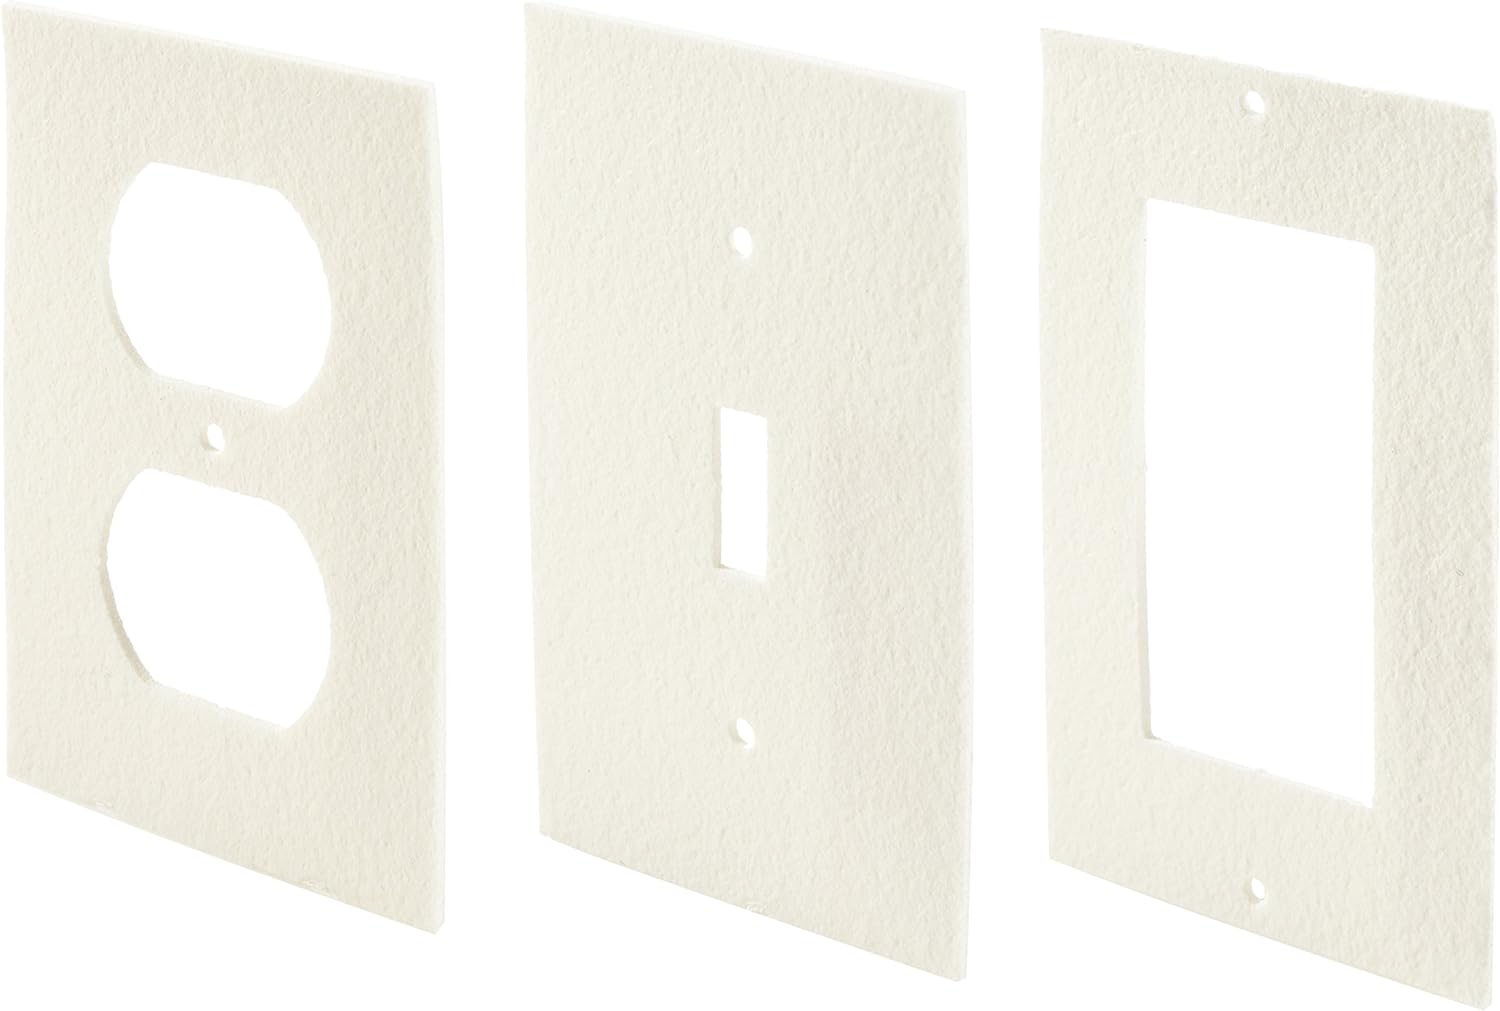
-
Foam inserts that slip behind outlets and switches to stop drafts.
-
Affordable and easy to install.
-
Effective insulation upgrade for any basement.
Recommended: DAP Alex Plus Acrylic Latex Caulk with Silicone (3-Pack)
-
Perfect for sealing joints and cracks before painting.
-
Flexible, paintable, and mold-resistant.

Step 3: Choose Practical Lighting
Basements often lack natural light. Bright, energy-efficient LED shop lights or flush mounts are cost-effective alternatives to recessed lighting.
Recommended: BBOUNDER 4-Pack Linkable LED Utility Shop Lights (4 ft)

-
Delivers 4,400 lumens per fixture at cool daylight.
-
Plug-and-play design; link multiple fixtures together.
-
Surface or suspension mount options for DIY-friendly setup.
Mount these lights strategically across the ceiling to evenly illuminate the area while keeping the electrical work simple.
Step 4: Improve Acoustics for Comfort
If your basement doubles as a family room, office, or gym, acoustics matter. Bare concrete amplifies sound — solve this with fabric panels or acoustic foam.
Recommended: Acoustimac Sound Absorbing Panels

-
Reduces echo and improves sound quality.
-
Stylish, easy to mount, and available in multiple colors.
Even a few panels make a noticeable difference.
Step 5: Warm Up the Space with Flooring
Cold concrete floors make basements uninviting. If you’re not ready for hardwood or laminate, try carpet tiles or rugs for warmth and sound control.
Recommended: Roberts 50-588 Rug Grip & Carpet Tape

-
Secures carpet tiles or rugs in place.
-
Residue-free, removable, and renter-friendly.
Pair with peel-and-stick carpet tiles for an easy DIY upgrade.
Step 6: Add Heat and Visual Appeal
Basements often feel colder than the rest of the house. Instead of extending your HVAC system, try a space heater or electric fireplace for warmth and style.
Recommended: HOMCOM Freestanding Electric Fireplace Heater

-
Compact, stylish, and affordable.
-
Realistic flame effect with adjustable thermostat.
-
No chimney or venting required — just plug it in.
Bonus Tips to Stretch Your Budget
-
Paint ceiling beams black or white for a modern industrial look.
-
Install peel-and-stick vinyl planks for under $2 per sq. ft.
-
Use IKEA shelving or DIY framing to build room dividers.
-
Hang curtains or sliding barn doors to hide utilities.
-
Opt for open shelving instead of cabinets for a kitchenette or bar.
Why Budget-Friendly Basement Finishes Matter
The value of finishing a basement isn’t just financial. You’re also investing in comfort, lifestyle, and flexibility. Whether you need a home office, guest suite, or playroom, a finished basement gives you room to grow without upsizing your home.
Budget DIY finishing forces you to prioritize: dryness, warmth, lighting, and function. By sticking to these essentials, you’ll avoid overspending while creating a space that adapts to your needs for years to come.
Final Thoughts: Make It Livable, Not Lavish
You don’t need a six-figure renovation to finish your basement. With smart planning and budget-friendly upgrades, you can create a cozy, functional space at a fraction of the cost.
Whether you’re prepping to sell, adding square footage, or simply upgrading your lifestyle, these DIY basement finishing steps offer excellent ROI and everyday comfort. Start with moisture control, move to insulation and lighting, then add warmth and finishing touches.
Remember: it doesn’t have to be perfect to be perfect for you.
FAQ – Finishing an Unfinished Basement
1. Does finishing a basement increase home value?
Yes. Finished basements can return up to 70–75% of renovation costs in home equity, depending on the market. A finished basement also makes a home more attractive to buyers.
2. What is the cheapest way to finish a basement?
Focus on essentials: moisture control, insulation, bright lighting, and affordable flooring (like carpet tiles or vinyl planks). These upgrades transform livability without major expenses.
3. Can I finish a basement without hiring a contractor?
Absolutely. Many key steps — sealing cracks, installing insulation panels, mounting shop lights, laying carpet tiles — are DIY-friendly. Start small and build in stages.
4. How do I make my basement feel less cold?
Add area rugs or carpet tiles, seal drafts, and use a space heater or electric fireplace. These budget-friendly upgrades dramatically improve warmth and comfort.
As an Amazon Associate, we earn from qualifying purchases. These links are affiliate links and we earn from qualifying purchases.